
Prepping A Room Before Residential Painting Part 1
Prepping A Room Before Residential Painting Part 1
The Essentials for Prepping a room before Painting
We are consistently asked how to properly prep a home so the following paint job looks immaculate, either by inquisitive do-it-yourselfers or by clients that insist they prep their homes before we arrive. I’m going to help you with how to properly prep your room to get it ready for paint. I’m a huge believer in doing it right! This means I encourage you to not gloss over parts or skip it just because it seems like it takes too much time because doing it right the first time and properly prepping can actually save you time in the long run and ensure that you’re super happy with your paint job. I’m going to talk about all the essentials and even some additional steps if you want to go the extra mile but either way, when you’re done reading this you’re going to know everything you need to do it right! prepping a room is all about two things; first preparing your room by protecting your floors, your furniture basically anything you don’t want to get paint on and second fixing your trim, your ceilings and your walls if those are the areas you’re looking to get painted.
Interior painting Room Preparation
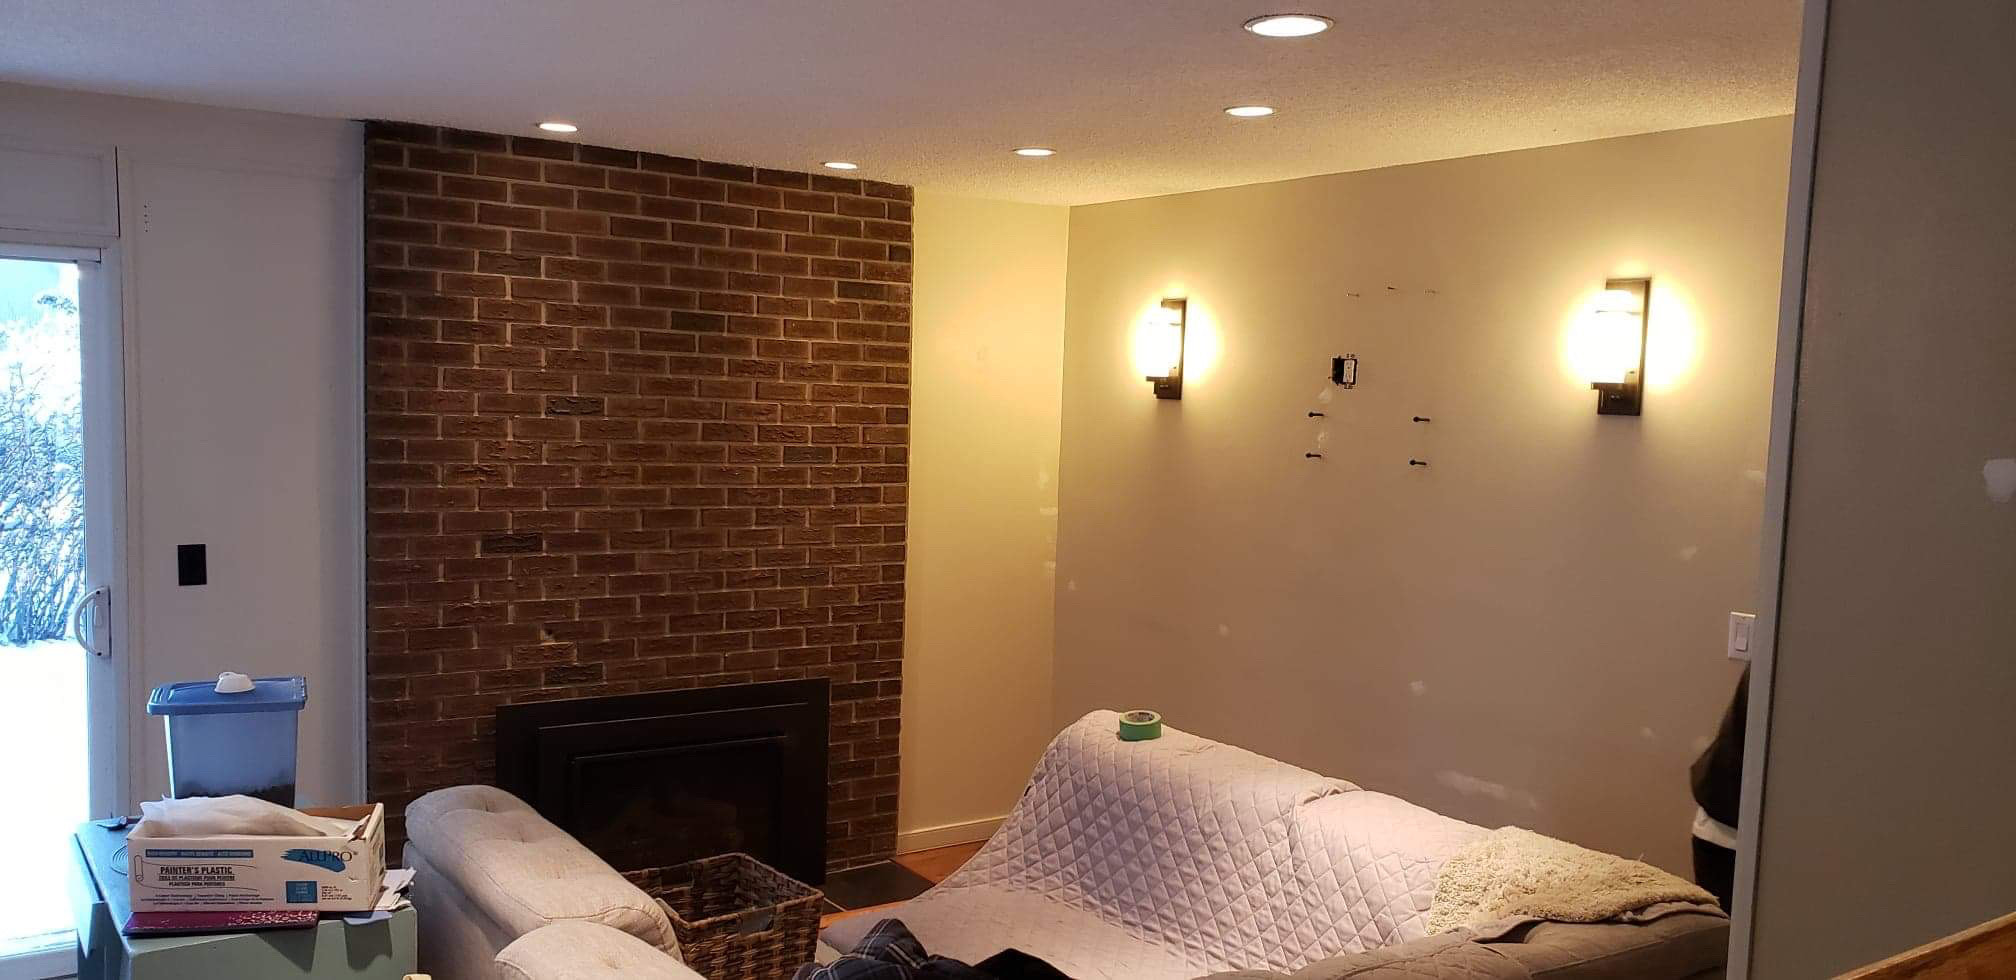
The first thing I recommend to do is to clear all the furniture out, get the accessories out and take all things off the wall and out of the room. When you are taking pictures off the wall but you intend on putting them back into the exact same place, you want to take it off but then leave the Nail hangers in the wall that way when You are going around the room spackling holes you don’t accidentally spackle them and then have to remeasure it and re-anchor it. whatever you can’t get out of the room, you want to still protect it. So move your furniture to the centre of the room and cover it up with plastic sheeting or plastic drop cloths.
Carpet Protection
Once the room is cleared out the next step is protecting the carpet or floors, we recommend doing so by using canvas drop cloths. If you want to go the extra mile you can put down plastic sheeting underneath your drop cloth because there is a chance that you could spill some paint and so the plastic sheeting acts as an extra precaution to protect your carpets. A recommendation for plastic sheeting would be 2 mils thickness because it is great in terms of durability so it will hold up better in terms of foot traffic anything thinner than that it tears a lot easier. After spreading out all the plastic sheeting you should use painters tape and connect the plastic sheet up onto the baseboard just a couple inches. This is going to be really easy to remove when completed but for now, adding a few pieces of tape connecting the plastic sheeting to the wall will hold the plastic sheeting in place when we’re putting our canvas drop cloths down.
Types Of Canvas Drop Cloths
There are two types of canvas drop cloths one is an “area” drop cloth which is a big rectangle square and the other is “Runner” drop cloth and those are like a long and thin rug. you should start with larger drop cloths and then use the runners to fill in any gaps that you need. If your drop cloth is wider than the width of your room you should do two things, first get rid of as many wrinkles as possible, if you have bumps in your drop cloth it males it really easy to trip on it and the last thing you want to do is trip with paint in your hands. Secondly, pull all access to one side so you only have to make one fold of your cloth. When you’re holding like this you just remember you want to make sure you’re folding towards you so when the cleanup time comes if you do have some stray drops of paint they’re not ending up on your carpet.


